7 steps to mastering the Application Packaging & Testing process
Updated: July 8th, 2025 | Published: July 10th, 2025
3 min read
By Barry Angell

In large-scale IT environments, application packaging and testing is more than a technical exercise—it’s a business-critical process. Done poorly, it delays migrations, frustrates users, and creates avoidable security risks. Done well, it enables smooth software delivery, drives efficiency, and reinforces compliance.
For decades, this process was the exclusive domain of niche IT packaging teams. But with the rise of automation and low-code self-service tools, a broader range of IT professionals—from digital workplace leads to application owners—are now expected to understand how packaging and testing works.
This guide outlines the seven core stages of the process, with practical insights drawn from Juriba’s experience supporting some of the world’s largest enterprises.
📘 Want the complete framework? Access the free Windows Application Management Playbook to streamline your workflows.
1. Submitting the Application Request
Every successful packaging process begins with a clear, detailed request. Usually triggered by a business unit or end user, the request outlines the app name, desired version, licensing information, and preferred delivery timeline.
This step often happens via platforms like ServiceNow or internal portals, but regardless of the system, the goal is to establish what’s needed, by whom, and when.
2. Initiating the Packaging Process
Once the request is logged, an IT packaging coordinator evaluates it for cost, feasibility, and scope. If approved, the team engages with the application owner to gather installation files, configuration requirements, platform targets (e.g., Citrix, Intune), and deployment details.
This stage is critical for setting expectations, ensuring accurate inputs, and avoiding downstream delays.
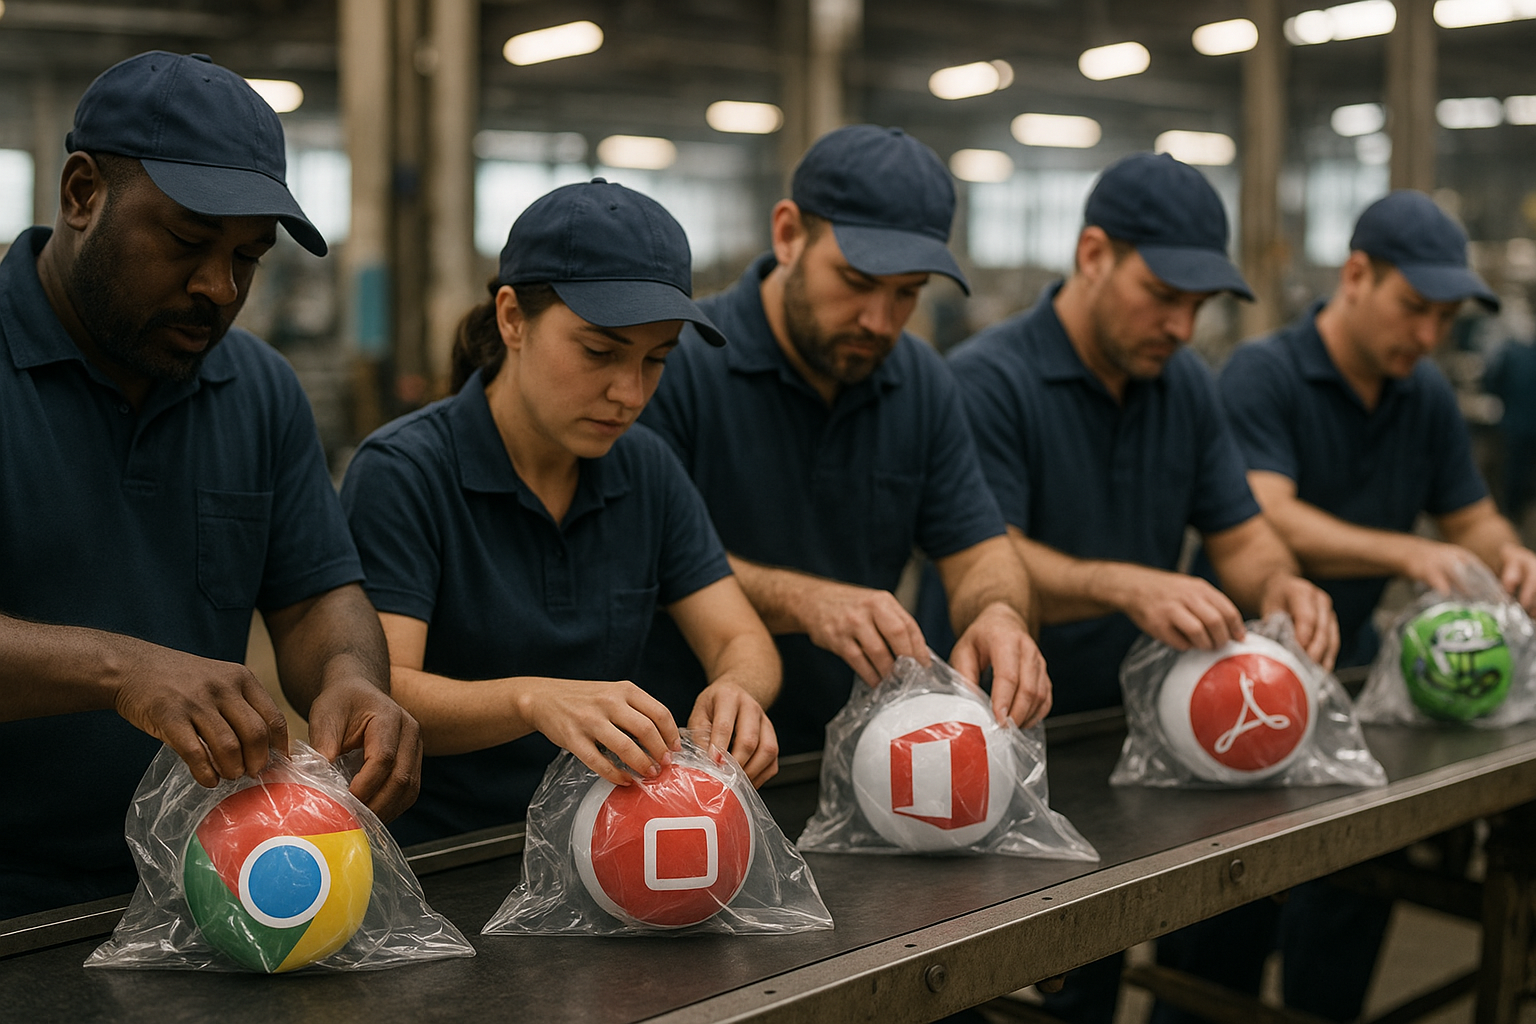
3. Building the Application Package
Packaging involves installing the application in a clean environment, capturing changes, and transforming the results into a format that meets enterprise standards—typically MSI, MSIX, or App-V.
Custom configurations, such as registry keys or shortcut placement, are applied. If done manually, this can be time-consuming. But automation platforms like Juriba App Readiness can reduce time spent by up to 93%.
4. User Acceptance Testing (UAT)
At this point, the packaged application is handed to the requester—usually the application owner—for validation. Testing may occur in a virtual machine, sandbox, or pre-prod environment. The owner confirms whether the application installs, launches, and behaves as expected.
Issues found here often stem from poor communication or incomplete scoping earlier on. Clear documentation and tight collaboration reduce UAT cycles significantly.
5. Conducting the Quality Assurance Review
Quality assurance ensures the application meets internal standards. This includes verifying install locations, registry settings, uninstall behavior, icon placements, and naming conventions. Enterprises with strict governance may review over 100 compliance points before an app is released.
The output is a documented QA checklist that becomes part of the audit trail.
6. Deployment to live environments
Once approved, the package is uploaded into platforms like Microsoft Intune, MECM, or Citrix for distribution. A pilot deployment confirms installation success and functional behavior across user environments. This is your last chance to catch any last-mile issues before general availability.
Once validated, the app is added to the enterprise software catalog or app portal for broad use.
7. Lifecycle Management and retirement
This is where most organizations drop the ball. Packaging isn’t a one-and-done process—applications evolve. Security patches, OS upgrades, and usage patterns all influence how long an app remains viable.
Proactive organizations use tools like Juriba’s App Lifecycle Management to track version sprawl, automate retesting for compatibility, and retire applications gracefully when they’re no longer needed.
Conclusion
Application packaging and testing doesn’t need to be a black box—or a bottleneck. By following a structured, repeatable process across these seven stages, IT teams can reduce delays, improve security, and create a smoother experience for users and stakeholders alike.
Automation and lifecycle thinking aren’t just “nice to have”—they’re essential to staying competitive and secure in today’s fast-paced IT environments.
Next Steps
-
✅ Access the Step-by-step guide to Application Management
-
📘 Download the Application Management Playbook for frameworks and templates
-
🎯 Book a personalized demo and see how you can reduce time spent on packaging by 93%
Barry is a co-founder of Juriba, where he works as CEO to drive the company strategy. He is an experienced End User Services executive that has helped manage thousands of users, computers, applications and mailboxes to their next IT platform. He has saved millions of dollars for internal departments and customers alike through product, project, process and service delivery efficiency.
Topics:


.png?width=1600&height=900&name=PSAppDeployKit_FeaturedImage%20(1).png)


